Feeds:
Posts
Comments

Archive for the ‘Happy Occasions’ Category

I pulled this recipe from my Southern Living Magazine back in 2000 thinking it would be a cute Halloween dinner idea to try with the kids. Little did I know what a hit it would be. It has turned into a Halloween dinner tradition for our family, we have made it loyally every Halloween for the past 13 years! It’s so good I was able to draw two of the kids home from college for Halloween dinner tonight! Below are a few pictures I snapped while I prepared it per the same Southern Living Recipe back from 2000. You can get the recipe here.

IMG_5853

Putting it together…

IMG_5811

Adding the egg wash for color…

IMG_5833

IMG_5858

Happy Halloween!

Read Full Post »

This Halloween with all three kids in college, I decided to make sweet treats for them to share with their roommates and dorm buddies! My husband and I drove to Charleston to give our youngest his take of the goods earlier this week, while the other two are venturing home (they are only 45 minutes away) for Halloween dinner. I am making our traditional Jack-o-lantern cheeseburger pie, I will post the recipe and photos when complete!

photo (6)

photo (5)

These Spook-tacular cupcakes are a breeze to make (especially if you use boxed cake mix) and taste sweeter than candy corn after being smothered in this “to die for” butter cream frosting!

Prepare cupcakes as directed on the box using 2 boxes of cake mix (I used 2 boxes of chocolate cake mix for my Spook-tacular cupcakes). I also used decorative paper cupcake liners I found on clearance. Using decorative cupcake liners adds an extra seasonal feel to your creations!

Let cupcakes cool on wire rack before frosting with the Deliciously Delectable Buttercream Frosting recipe below.

Deliciously Delectable Buttercream Frosting

Ingredients (makes 48 cupcakes)

2 pounds confectioners sugar

1/3 cup water *

1 1/2 teaspoons vanilla flavoring

1 teaspoon butter flavoring

2 cups shortening

Directions

In large mixing bowl, add sugar, water, vanilla and butter flavorings and 1 cup of the shortening. Mix on low speed until well blended. Turn speed up to medium and mix an additional 2 minutes. Test frosting for consistency (* if frosting forms a ring around the top of the mixing bowl you might need to add water 1 tbsp. at a time to the mix). Using a spatula scrape the sides of the mixing bowl to incorporate any undiluted sugar to the mix. Mix and additional 2 minutes on medium speed. Add the last 1 cup of shortening to the mixture. Mix about 2 more minutes until creamy and smooth. Depending on the color of frosting you desire, you may add the color now and using a spoon stir the mixture to incorporate the color throughout. I used yellow and red icing colors until I reached the orange color I wanted for my Spook-tacular cupcakes.

I used a 16 inch disposable plastic piping bag and a Wilton’s 1M star tip to pipe the frosting onto the cupcakes.

After piping frosting on the cupcakes I showered brown and dark green sprinkles on each cupcake. Finishing my little creations with plastic bat & spider rings purchased at my local dollar store.

Boo-ya! Cute, delicious Spook-tacular cupcakes!

photo (4)

Read Full Post »

OLYMPUS DIGITAL CAMERA

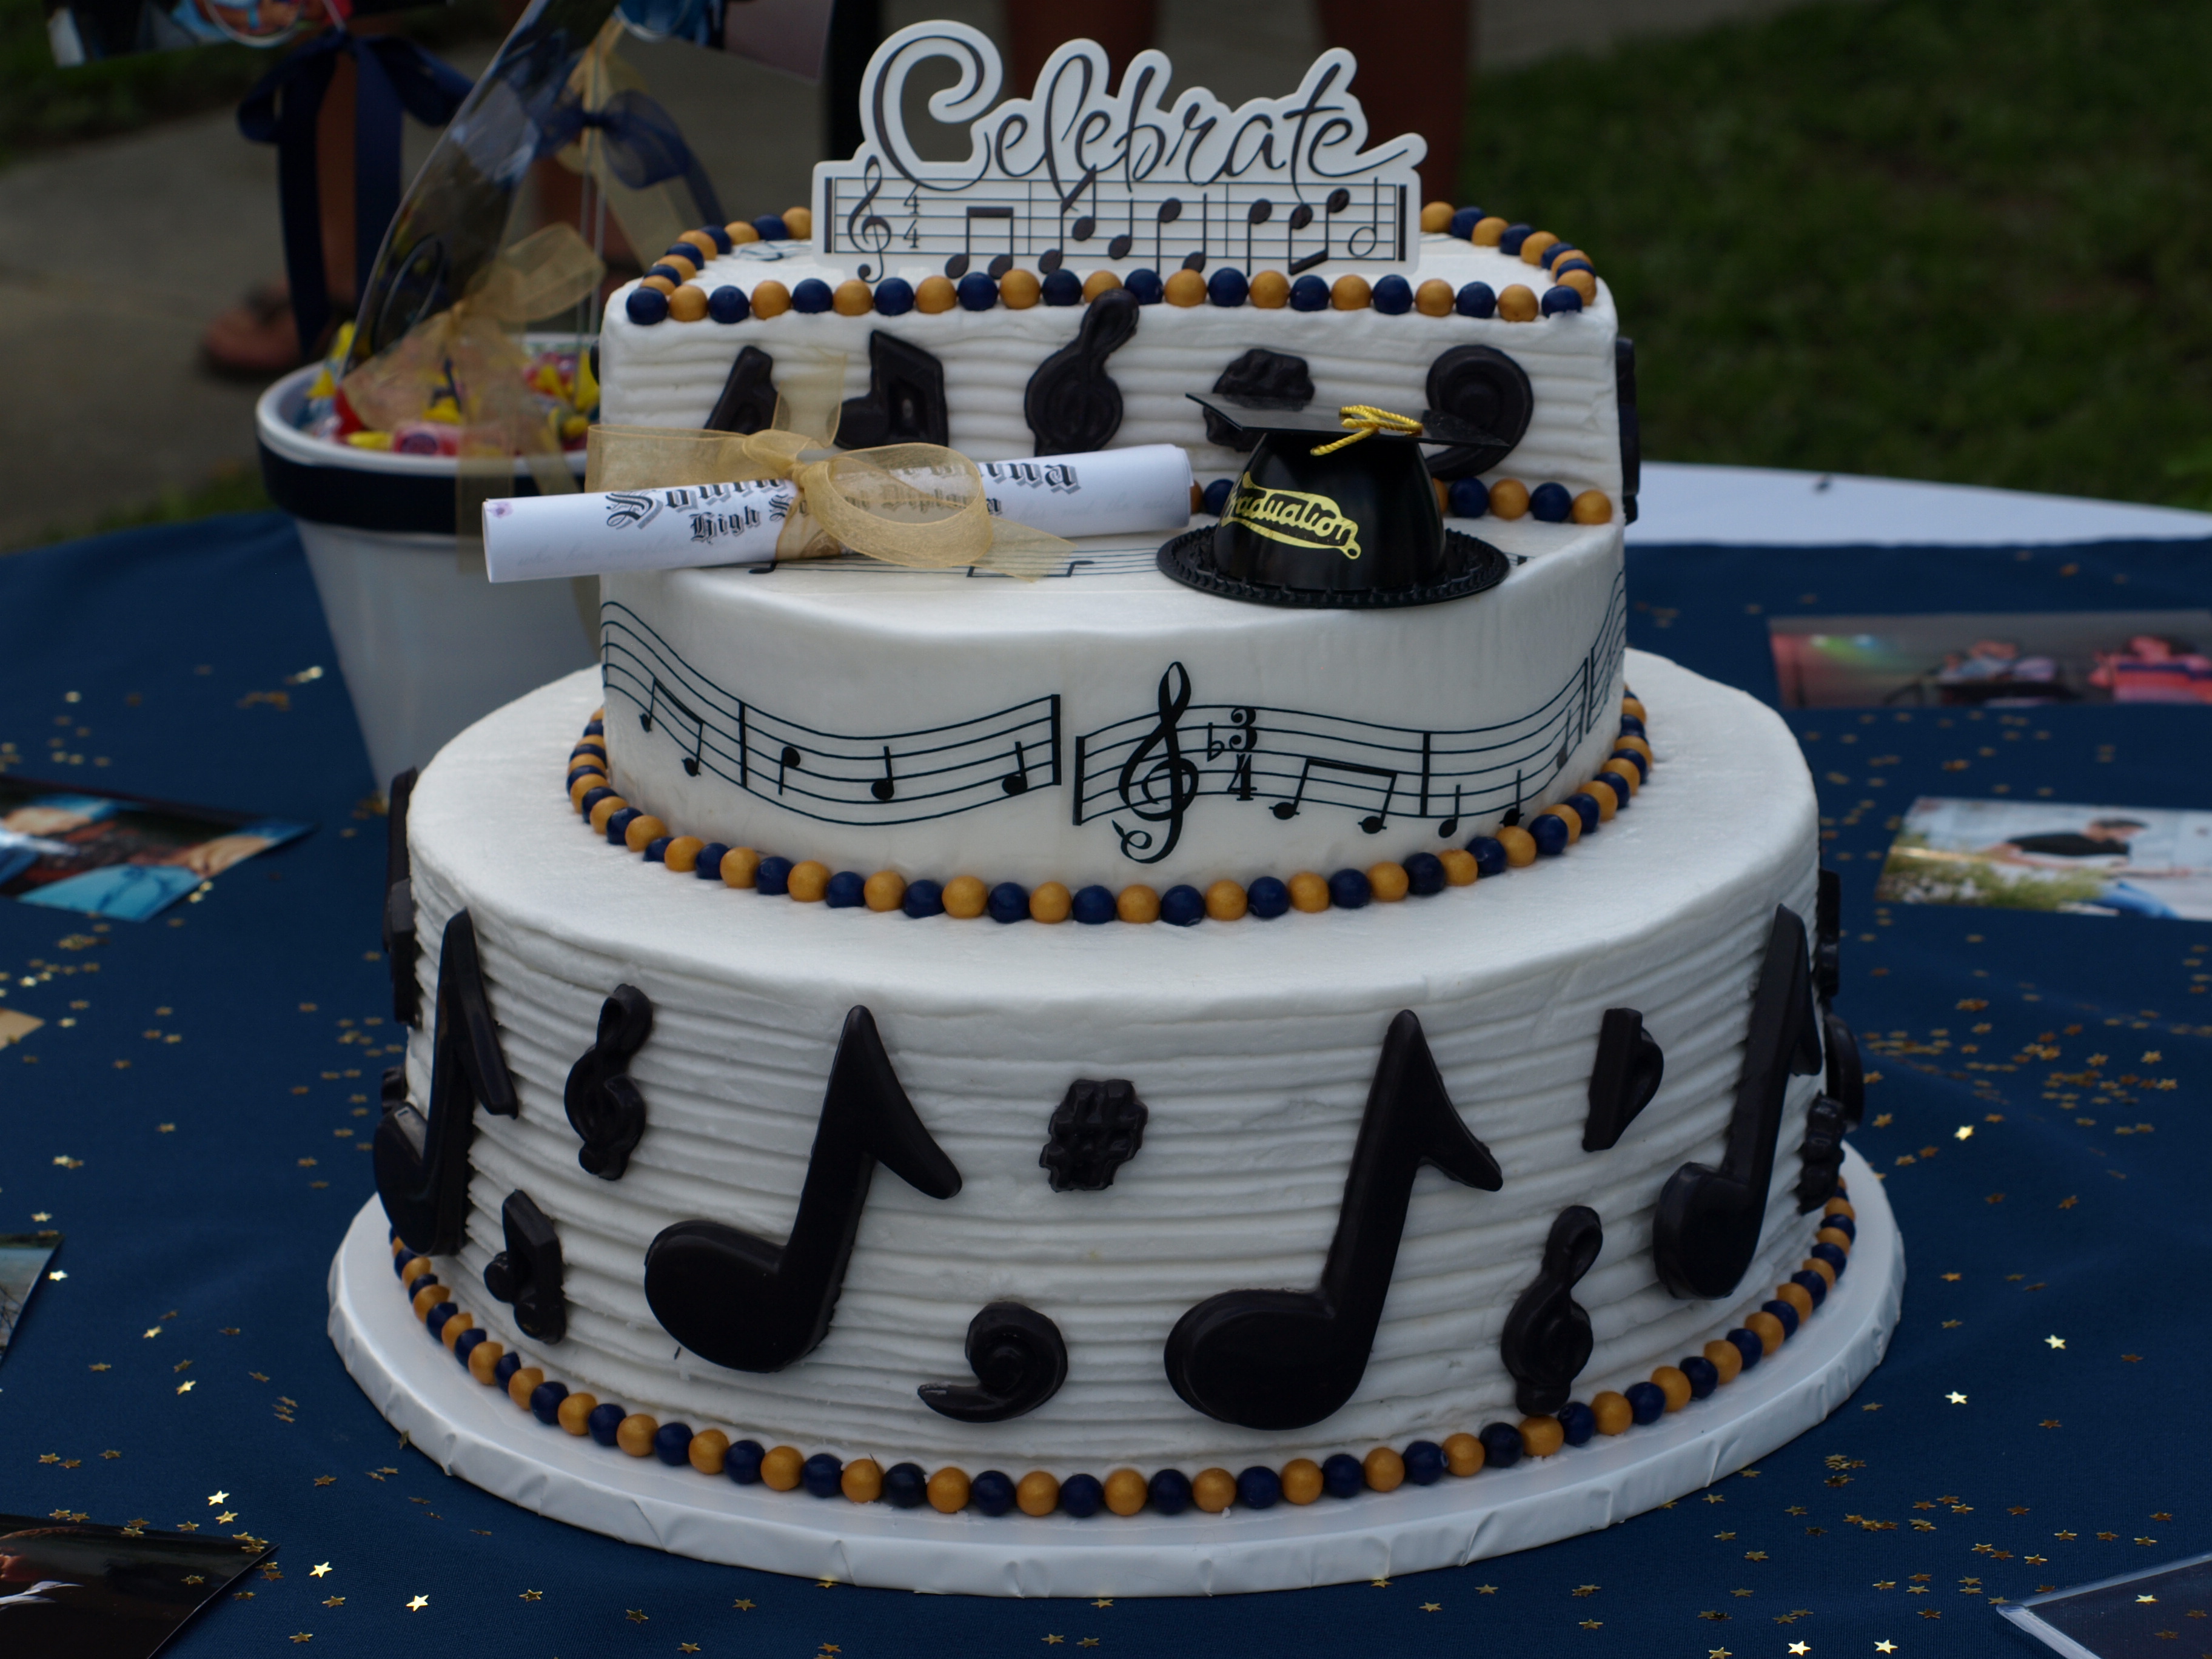
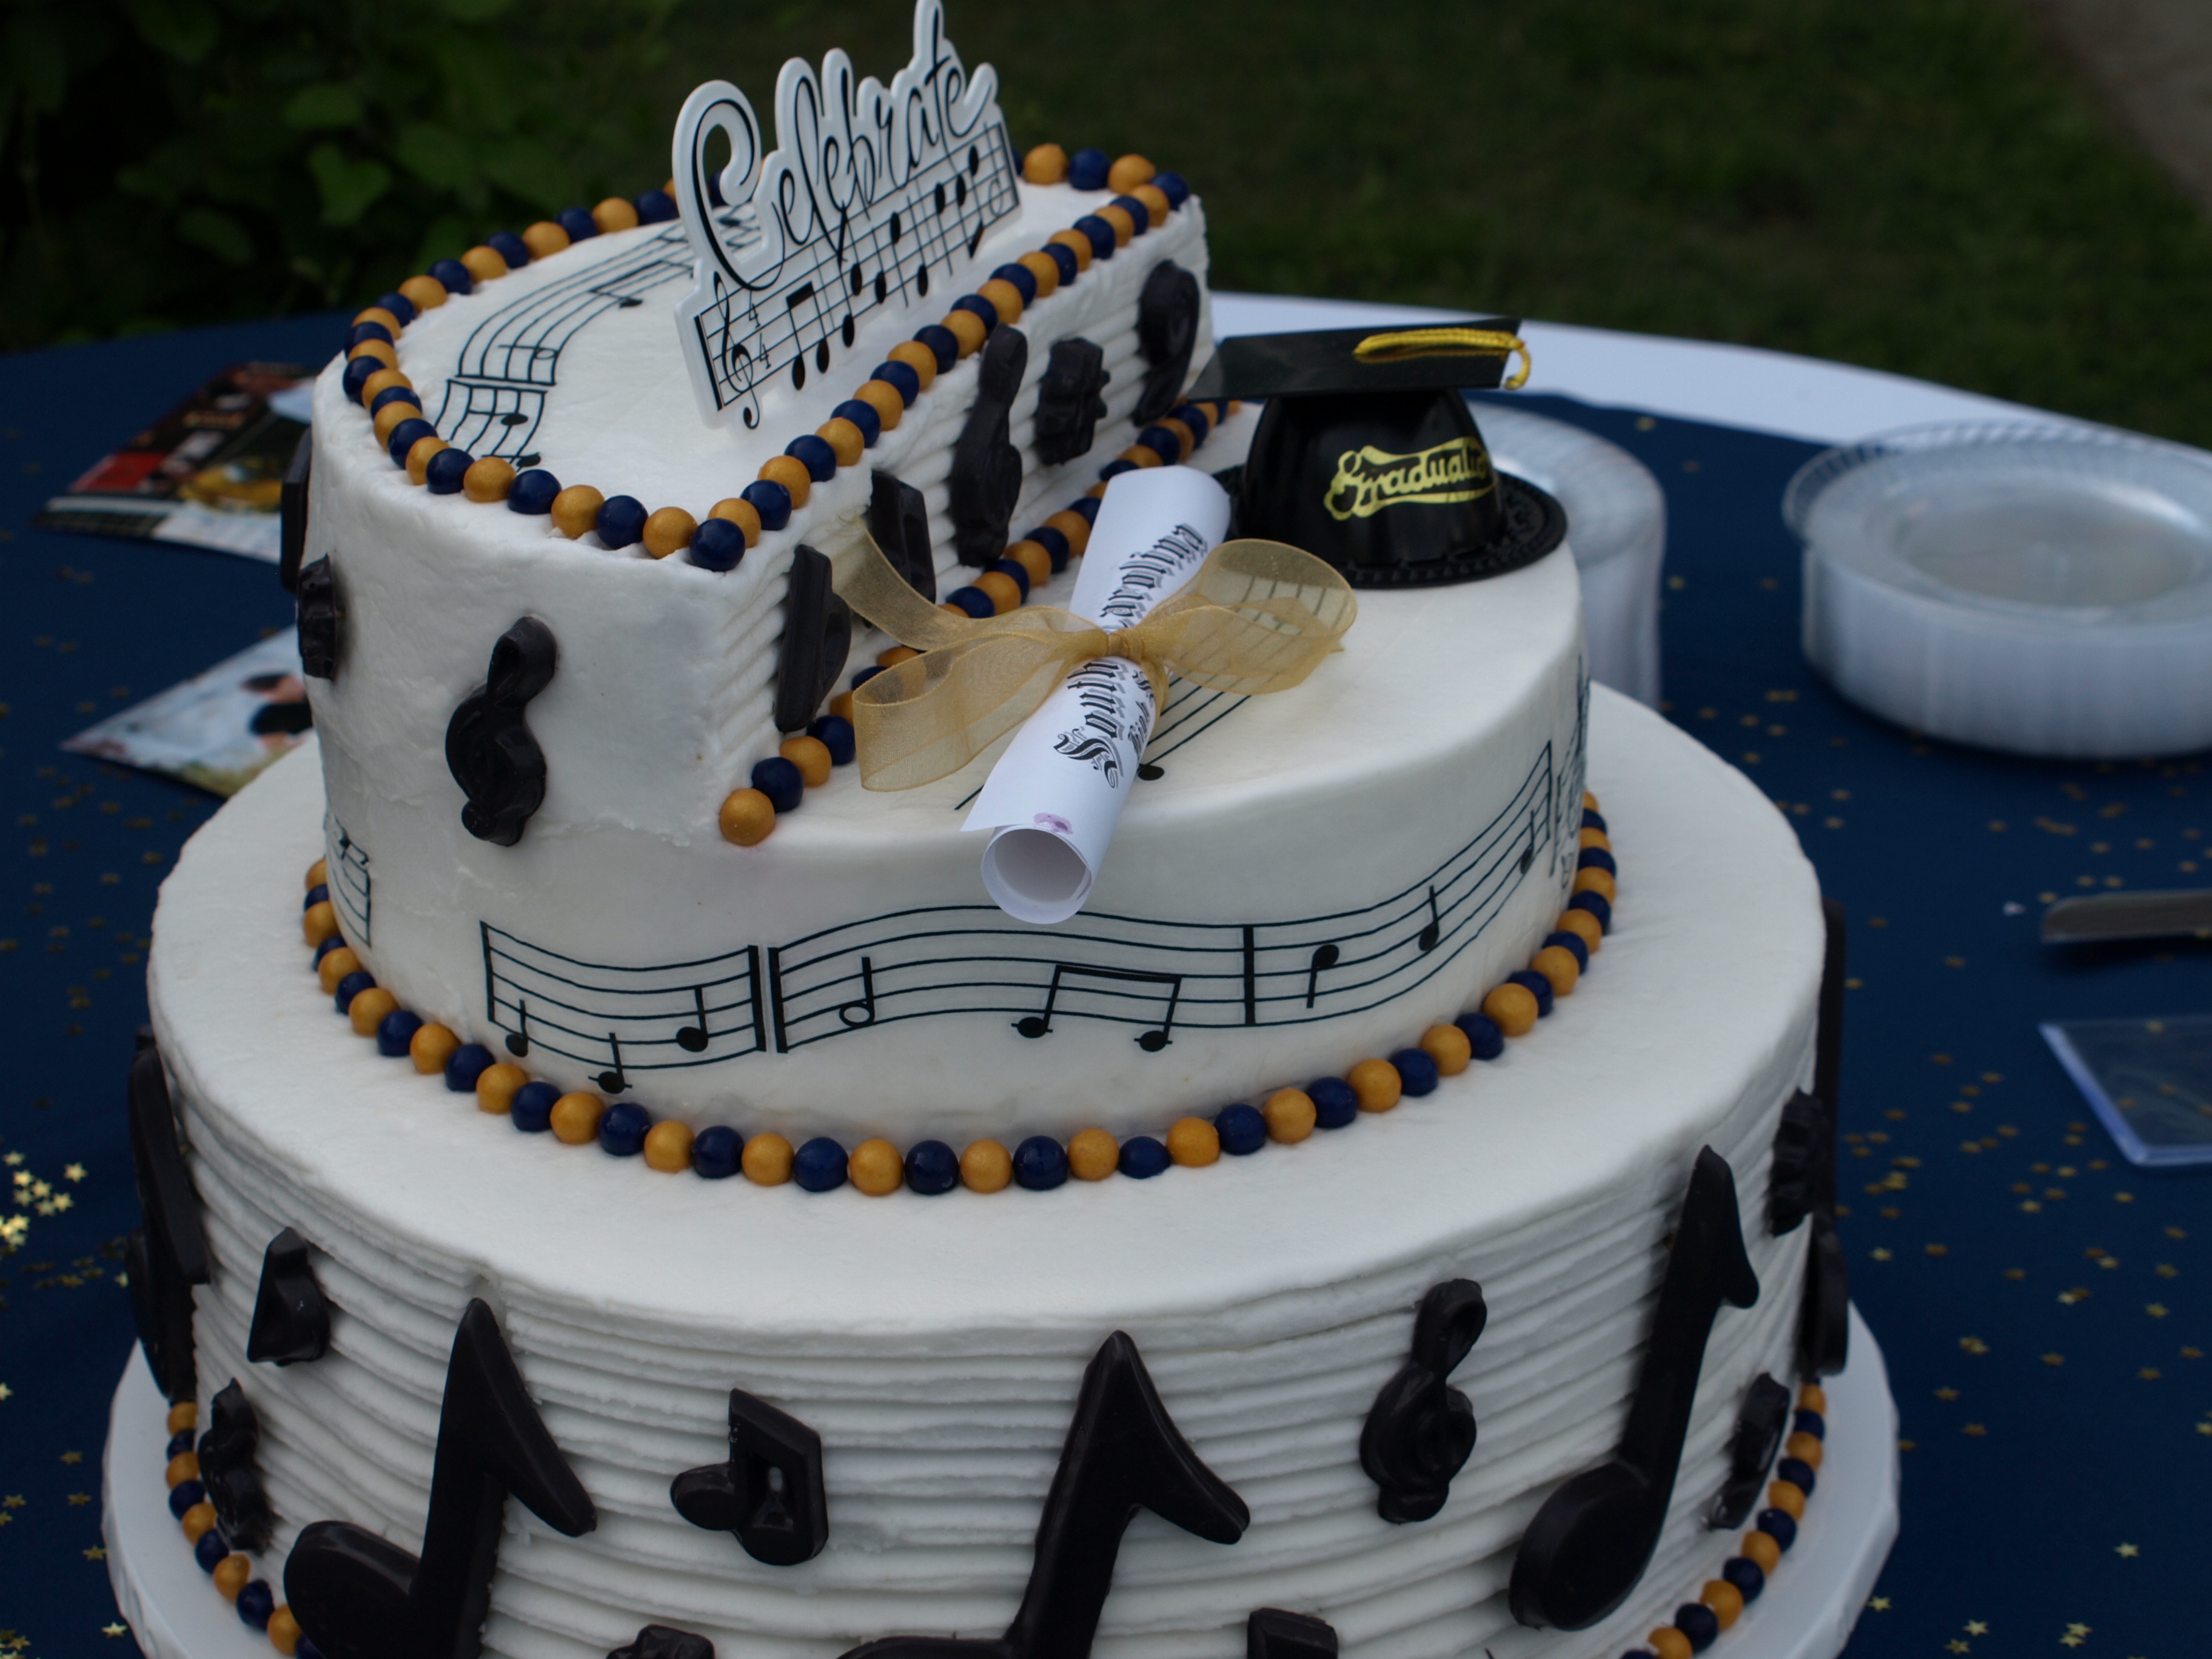
Okay, here it is… you requested that I explain how and what supplies were used to make my youngest son’s “Music” themed graduation cake so here it is! Cameron’s high school graduation cookout required a special cake for his special occasion. His love for music as well as his musical talent helped him procure several music scholarships and I wanted to touch on this “musical theme” while making his graduation cake! I describe below how I constructed his cake and what supplies I used.

For the bottom cake tier I baked 2 – 14” round (3” deep) layers of butter flavored cake. I then split each layer into 2 layers for a total of 4 layers for the bottom tier.

The middle and top layers were 2 – 10”round (3” deep) layers of butter flavored cake. I also split each layer into 2 layers for a total of 4 layers.

OLYMPUS DIGITAL CAMERA

After leveling and splitting each layer, I placed a plastic tier support between the bottom and middle tiers for added support. I then used white buttercream frosting to fill between all layers and dirty ice the cake. I layered each tier in this order…

  • Bottom tier: 4 layers (2 regular layers) of 14” round cake
  • Middle tier: 2 layers (1 regular layer) of 10” round cake
  • Top tier: 2 layers (1 regular layer) of 10” round cake – Cut in half and discard one half (or dirty ice it for a “sneak taste test”

A lot of you wanted to know why I didn’t use fondant to get that very popular “smooth” finish. I did a taste testing weeks beforehand with my family and they were not fond of the fondant! (No pun intended) ha! We prefer the rich creamy texture of traditional buttercream frosting. You could use fondant if you prefer.

OLYMPUS DIGITAL CAMERA

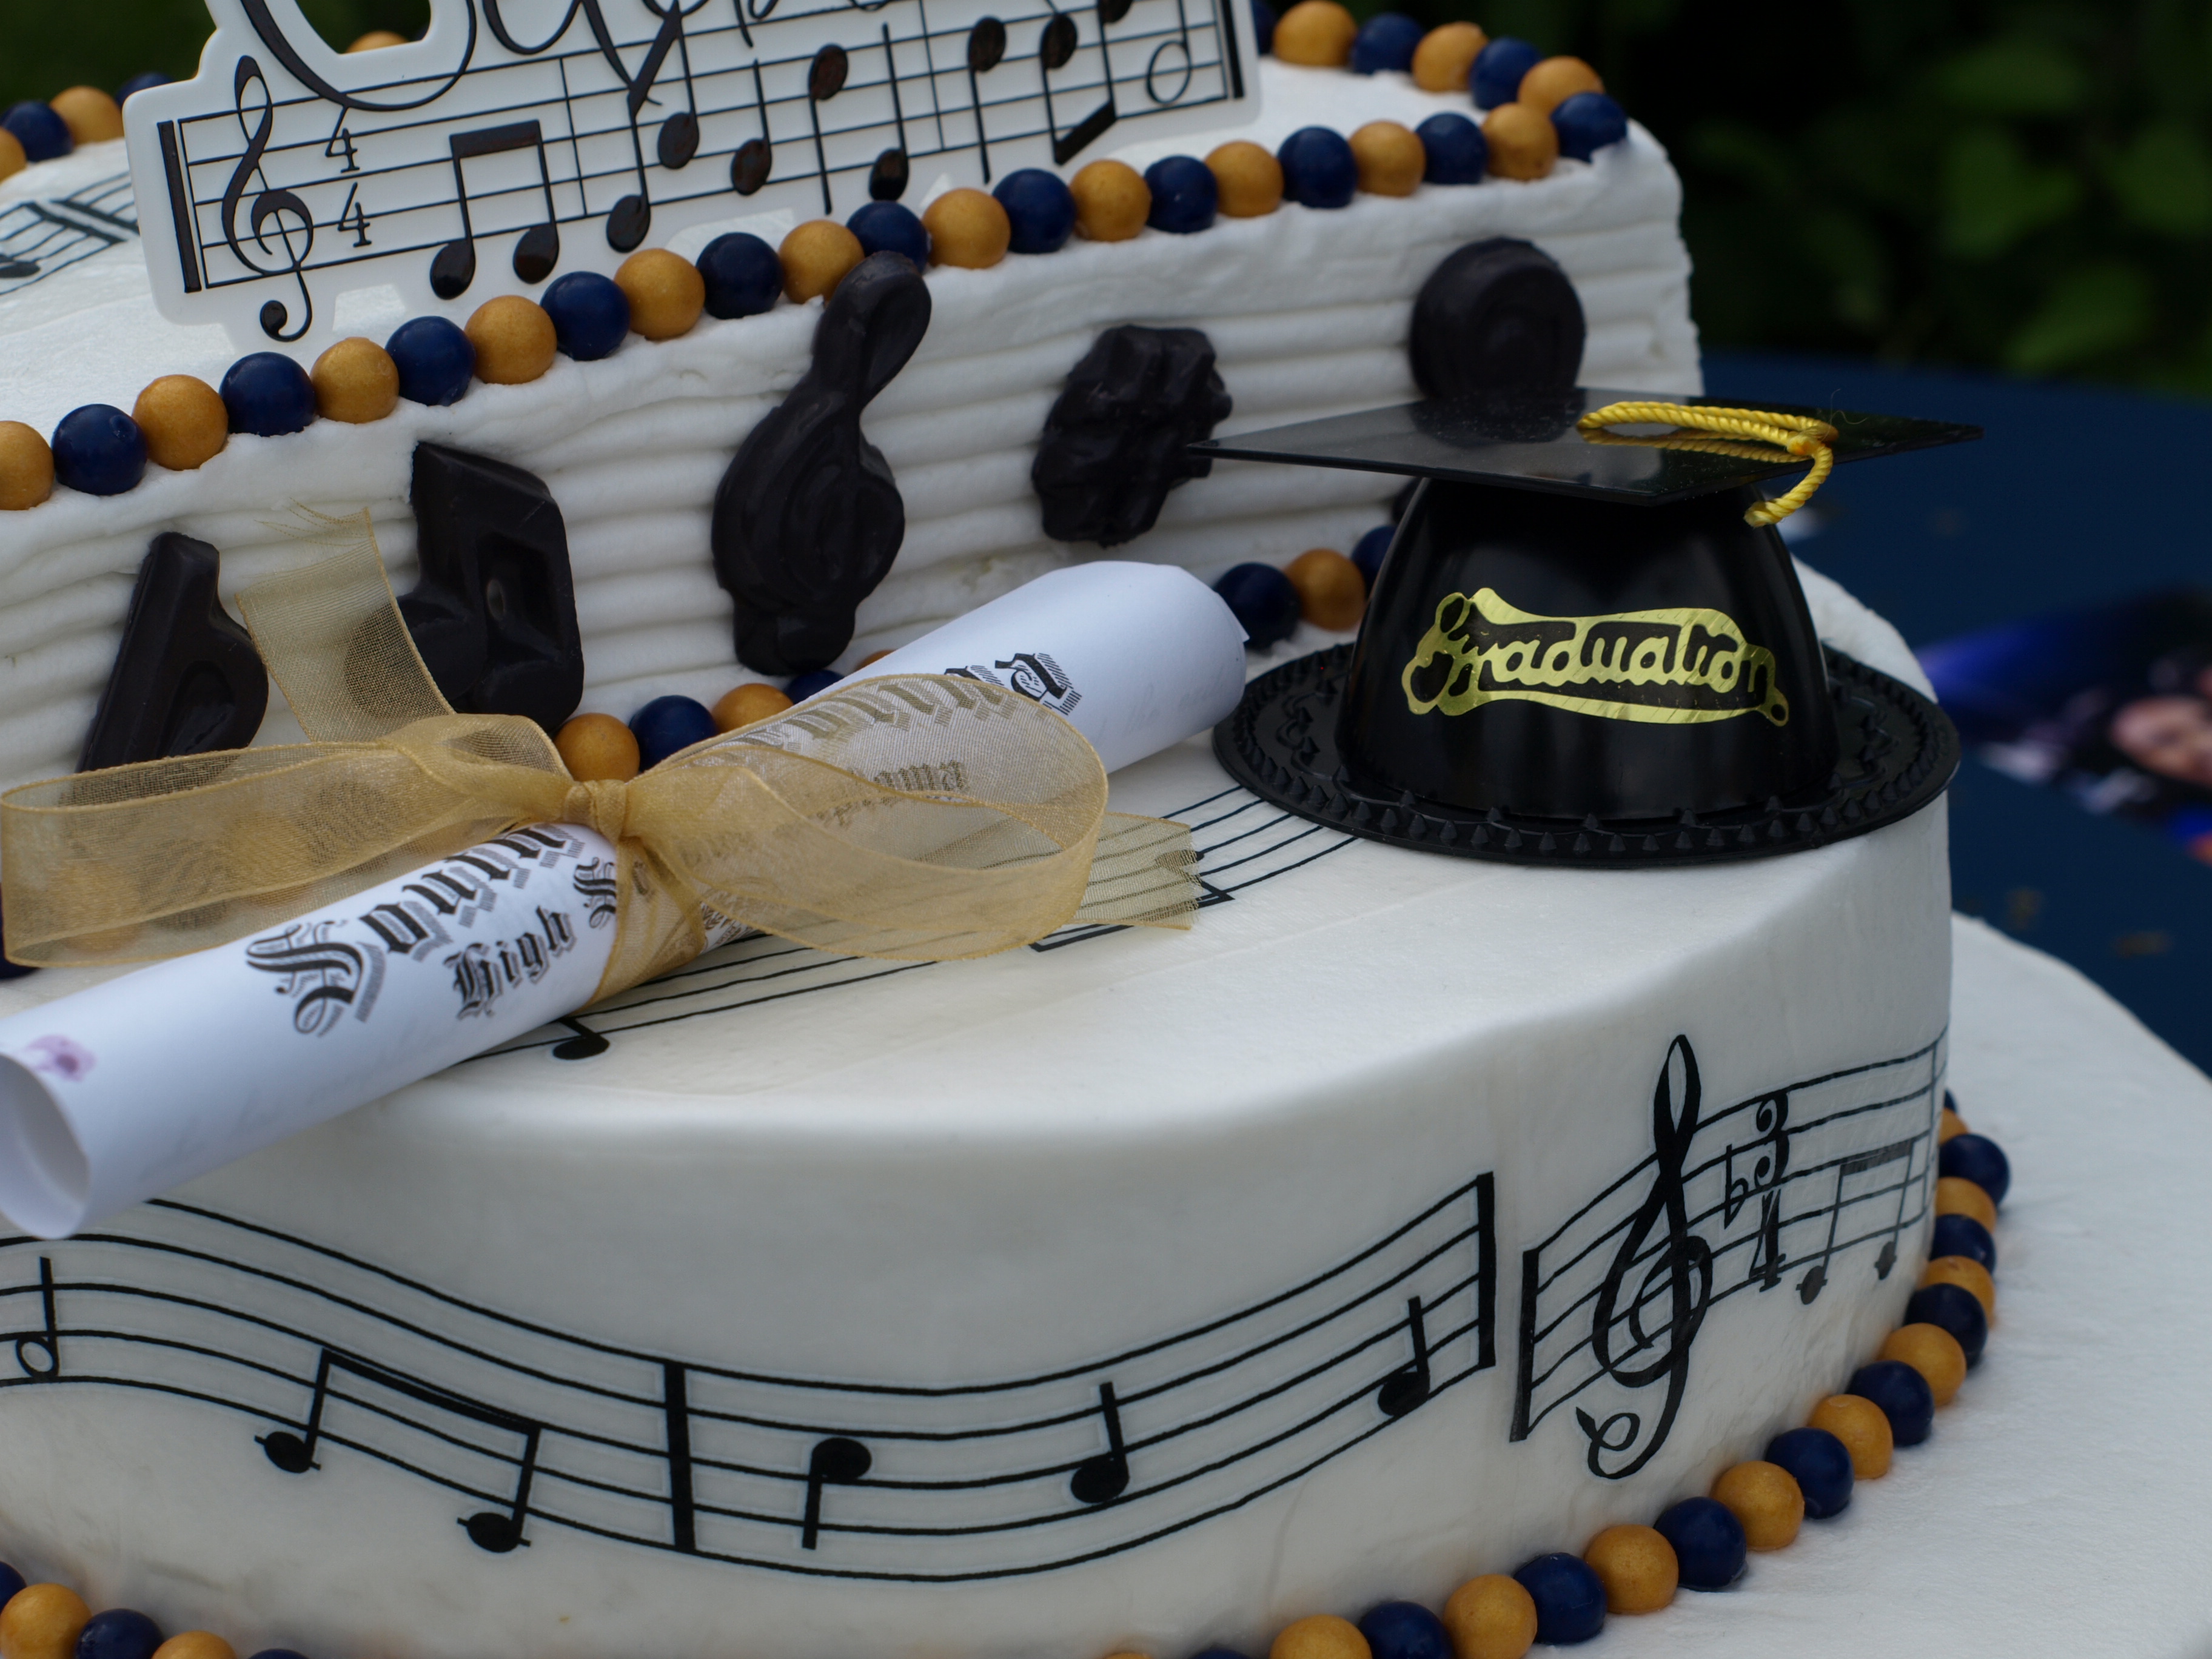
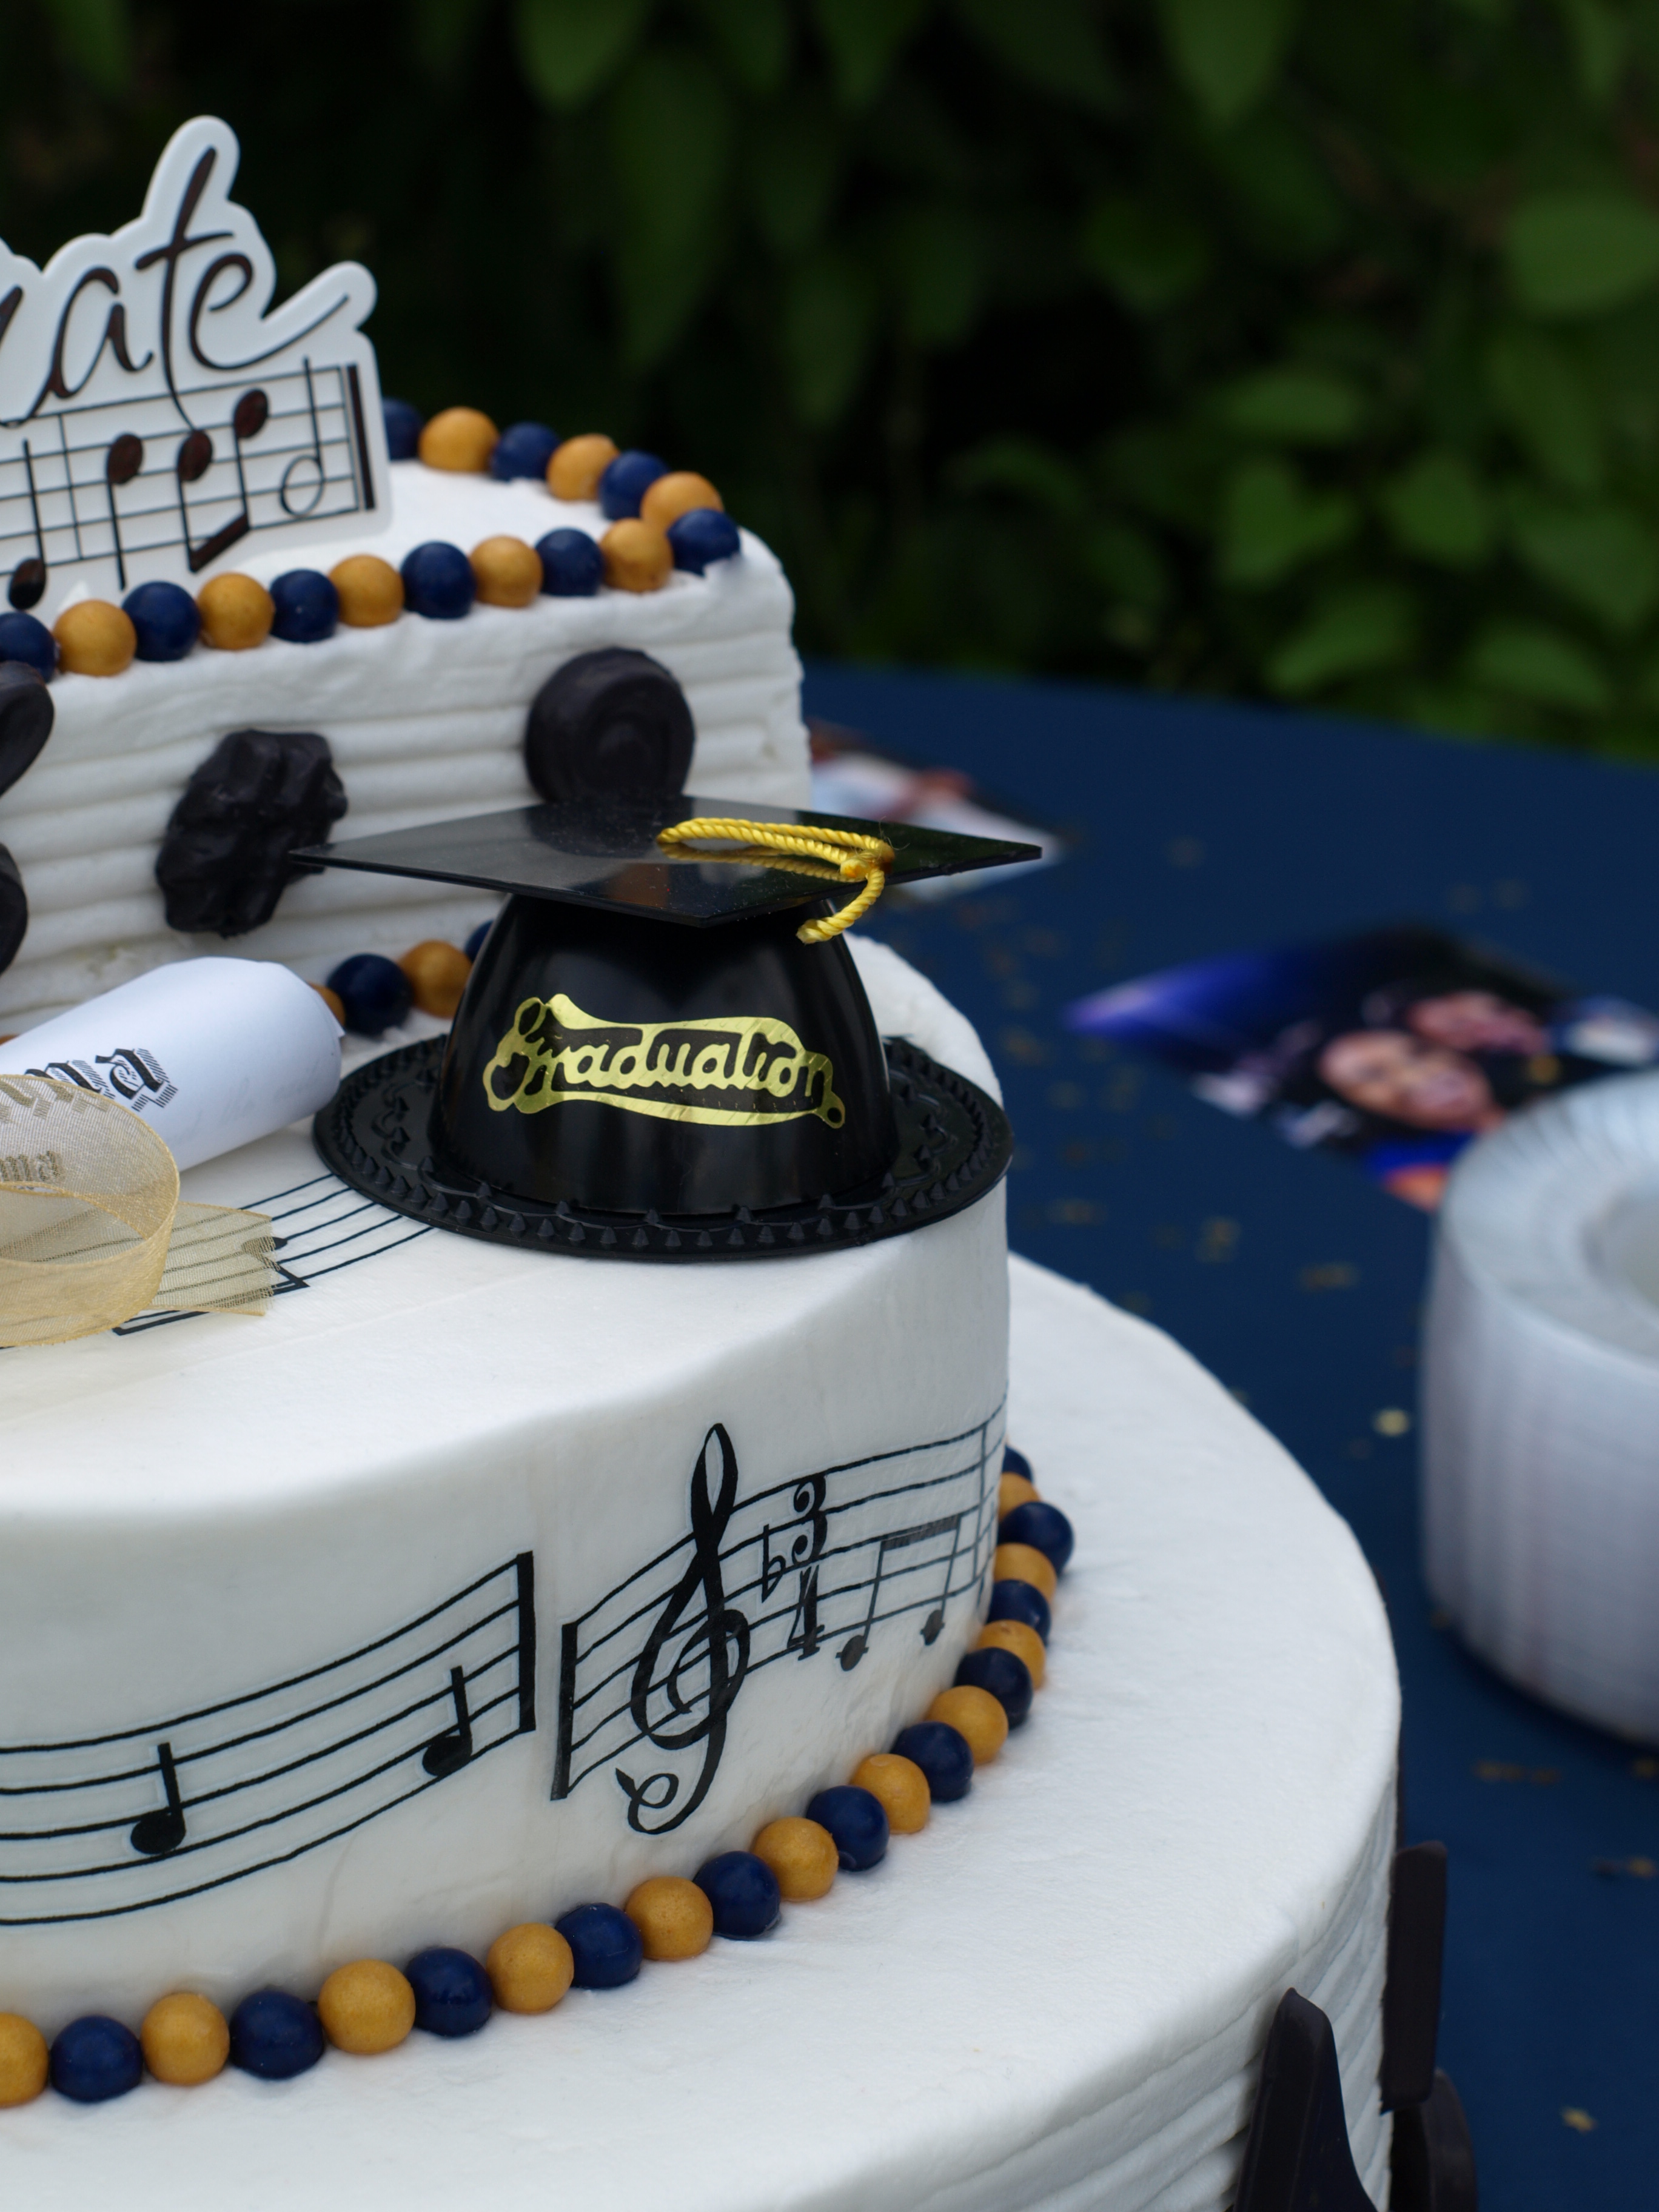
After smooth frosting the whole cake with buttercream frosting, I used an icing comb to add the textured lines to the bottom tier as well as the “front” side of the top layer half to give it a musical line type finish.

I ordered chocolate molds online and made the musical notes, treble clefs, bass clefs, sharps and flats a day ahead. I used black melting chocolate to fill and make each candy mold. You can buy colored melting chocolate disks at almost every craft store, local Walmart,  or Target. After pouring the melted chocolate in the molds I placed broken in half toothpick pieces into each mold, (careful not to push all the way through) and then I placed plastic wrap over each mold to hold the toothpicks in place until the mold hardened. These “picks” on the back side of each chocolate piece was used to hold the candy in place on the cake.

Thanks to the internet I was able to find the musical staff with notes sugar transfer sheets as well as the plastic “celebrate” easel for the top of the cake and the plastic “graduate” cap.

NOTE: Do not place the sugar transfer sheets on the cake until the day of the event! If left on the cake too long, they draw moisture and begin to “bleed” onto the cake.

OLYMPUS DIGITAL CAMERA

My daughter made a copy of her high school diploma using a fine elegant paper, rolled it up and tied it with a bow for extra decoration!

I finished up the cake with colored chocolate candy balls that I found online in his future college colors also.

OLYMPUS DIGITAL CAMERA

OH HAPPY DAY!!!

Read Full Post »